Installation
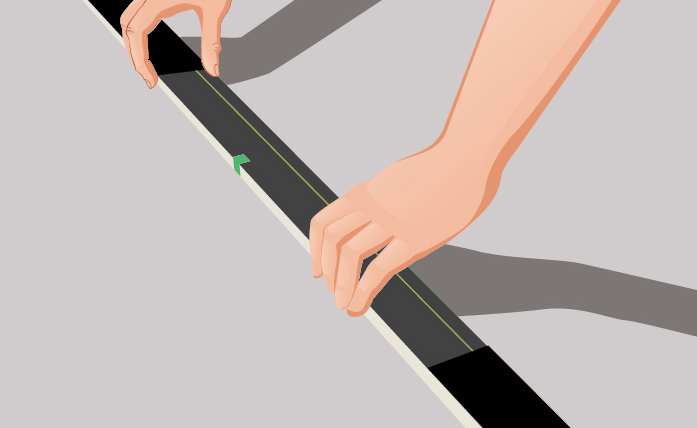
Measure the area to be covered with the tiles. Fix the starting point by drawing a line for tiling vertically and horizontally. Adjust the level for the floor or the wall as required and clean the tiling area to remove the dirt.
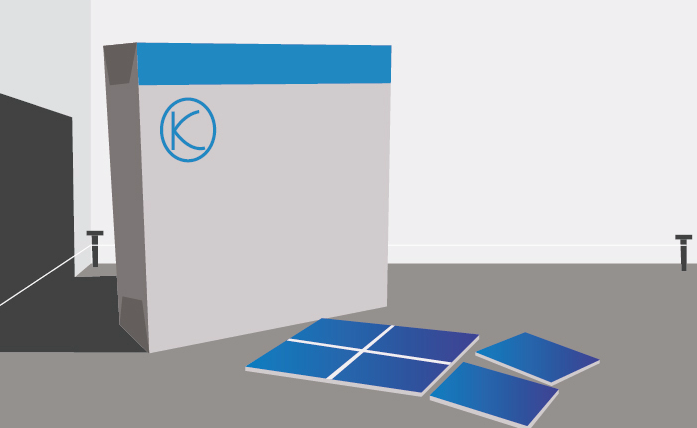
Unbox at least 3-5 boxes of tiles and mix them before start tiling.
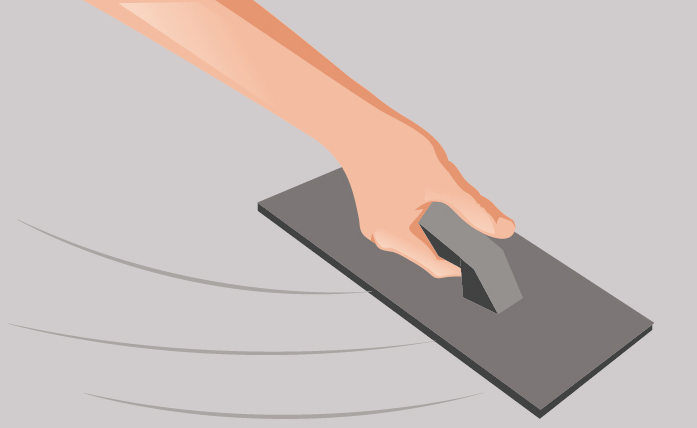
Mix the cement mortar and apply, using the flat side of the trowel

Apply the cement mortar and use the notched mortar on the tiling area with approximately 5 mm. thickness. side of the trowel to scrape the glazed
cement.

Place the tile as per the pattern, beginning at the starting corner. Place the tile mixed by the shading and tap lightly with rubber hammer or trowel. Organize or adjust the position of the tile orderly.

Before grouting, allow the tiling to dry for about 48 hours. Use the trowel to remove excess grout from the tiles. After that, clean the lines between the tiles.

High Glossy

No Warpage

High Breaking Strenght

Swimming Pool Salt Proof

Green Environment

Design Service


